
SUPER ADORABLE, RIGHT? If you have the patience or a super creative cake making friend, this is an amazingly straight forward project in the kitchen.
Enter my friend Serene:

She has been creating crazy cakes since her senior year of high school and it's a hobby that has just sort of stuck. I was her resident advisor in college - she was the kind of resident that kept me sane. Not only is she super cool, she was always down to hang out with me and watch stupid movies. We became good friends, and I always look forward to seeing her. After a recent facebook post where she showed off some wicked cactus cupcakes, I knew that we needed to see each other again. Serene is a project engineer by day and cake master by night. Let's see her process!
I'll include links to the recipes she used for this below, but for now, prepare yourself to see some bakery magic!
Step 1: Make the 2 round cakes and 1 dome shaped cake the night before and let it cool
 |
| Two round cakes will stack on top of each other (with frosting in the middle) |
 |
| The dome shaped cake will be the top (for the head of course!) |
Step 2: Make the peanut butter whipped cream frosting for the middle of the cakes


Step 4: Trim the edges to make everything even and make sure you have a cardboard cake stand that is the same size too


Step 5: Make the peanut butter buttercream frosting for the outside and dye it brown, since owls are brown you know..
`

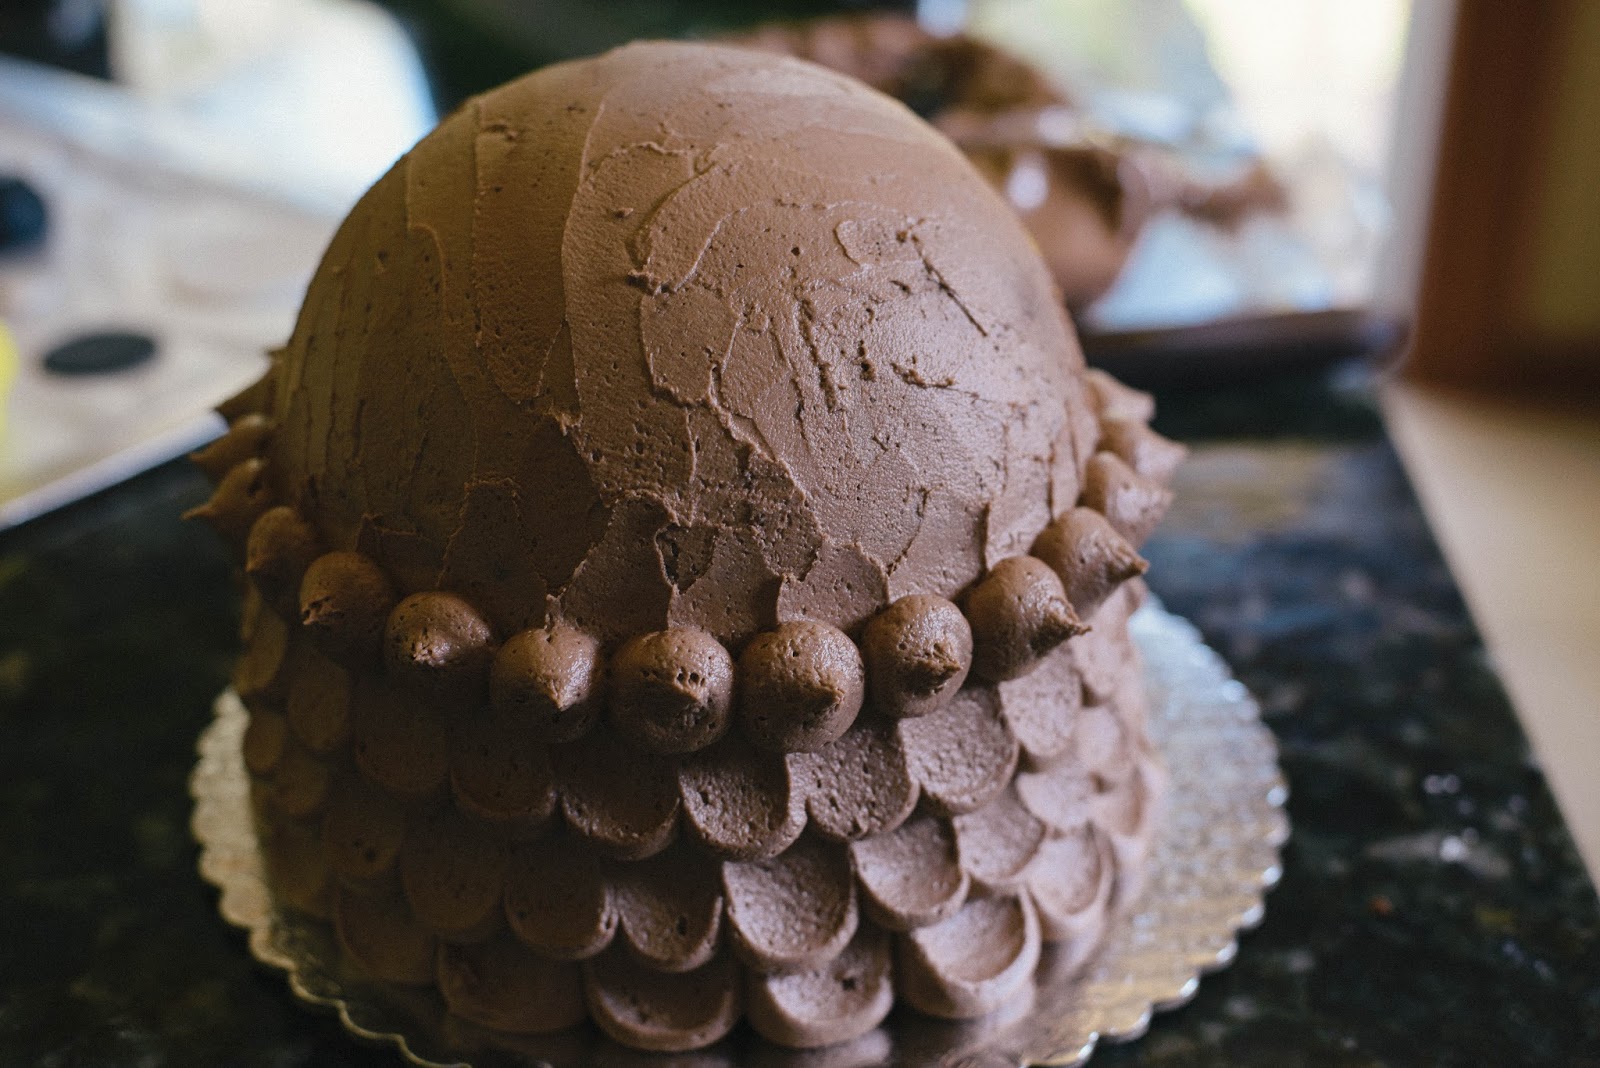
Step 6: Frost the crumb layer! This means cover the cakes lightly and seal in all the crumbs. The next step will make it prettier.

Step 7: Grab the fondant, make three balls, dye them, roll them out, and using a cookie cutter make the circles for the feathers and eyes.


Step 8: Assemble the circles onto the front of the cakes to create the feathers


Step 9: Frost the cake! Make individual dots and using a flat knife, swipe up


Step 10: Add the eyes!


Step 11: Using your leftover fondant, make the beak and feet

AND THERE YOU GO! YOUR VERY OWN OWL CAKE!

SERENE'S LINKS:
For the chocolate cake: http://jensfavoritecookies.
For the buttercream: http://joyfullyhome.com/2014/
For the whipped cream frosting: http://divascancook.com/peanut-butter-cake-recipe-peanut-butter-frosting-easy/
For the full OWL tutorial: http://joyfullyhome.com/2014/
Eat well! Be well! And subscribe below for more food adventures from me and my friends :)
No comments:
Post a Comment
what did you like about this post? what would you add? did you try it? I want to know!